.svg)
Moving Files With Microsoft SharePoint Migration Tool
To set the stage, you may already be familiar with the Microsoft SharePoint Migration Tool. This is a free and simple tool that can be used to migrate content from SharePoint server or from a local or network file share, to Teams, OneDrive, or SharePoint. If you are interested in learning more about the Microsoft SharePoint Migration tool.
A common use case scenario for the Microsoft SharePoint Migration Tool may be for migrating content from file sharing sync software to Microsoft SharePoint, in which you have a local copy of this data that you will be migrating.
SharePoint Library Destination Specification
With the Microsoft SharePoint Migration Tool, you need to specify the desired SharePoint document library destination where your content will be copied to. The Microsoft SharePoint Migration Tool does provide the option to select an existing subfolder in the root of the document library. For example, if you have a folder named “New” in the SharePoint Document library, you will have the ability to select this folder in the Microsoft SharePoint Migration Tool. However, if you have a subfolder within the “New” folder named “New 2”, you will not have the ability to specify the “New 2” subfolder in the Microsoft SharePoint Migration Tool as a destination folder for migrating content.
This may potentially be an issue if you have a large folder you are migrating to SharePoint but must exclude a subfolder as part of the migration effort (with a plan to migrate the subfolder at a later date). Since the Microsoft SharePoint Migration Tool only allows you to select a folder in the root of the document library as the destination location, you may be wondering how to move the large folder into an already existing subfolder in SharePoint later.
Another scenario may be where you have a rather large folder in SharePoint that you need to move to another folder in SharePoint. While utilizing the Move to, or Copy to, features in SharePoint can be useful here, you may be interested in other options to perform this task as well.
Microsoft Power Automate
Microsoft Power Automate comes to the rescue here! Provided you have the proper licensing in place, you can create a Power Automate Flow to move files from one SharePoint folder to another! The reason why this may come in handy is that you can initially migrate the folder in question to the root of the SharePoint document library using the Microsoft SharePoint Migration Tool, and then use Microsoft Power Automate to properly move the contents to its rightful location in SharePoint.
There are some considerations to be mindful of when it comes to SharePoint folder content. One is that there is a 400-character limit for the path length in SharePoint. If you attempt to copy a folder where a path length exceeds this (i.e., a subfolder path length is over 400 characters), the copy will error out. Also, Power Automate times out after 30 days, so if you happen to have a job running that is taking quite some time, it will stop when it reaches the 30-day mark.
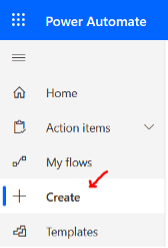
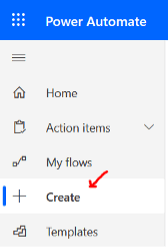
1. Access Microsoft Power Automate, then click on Create in the left toolbar.
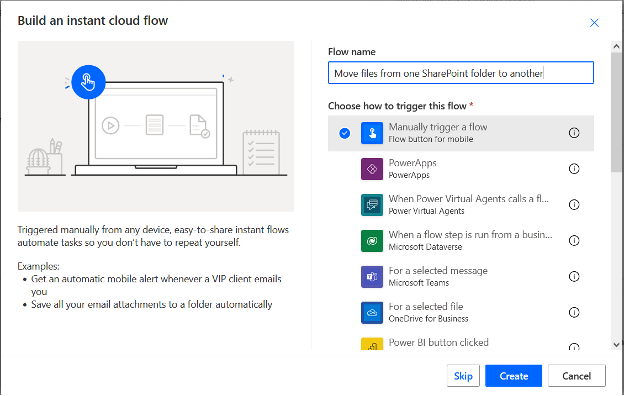
2. Select Instant Cloud Flow

3. Input a name for your new flow. In the sample here, we will use “Move files from one SharePoint folder to another”.
4. Select Manually trigger a flow.
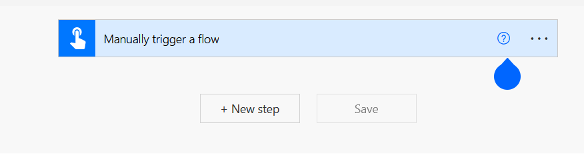
5. Select Create. The initial flow will be created.
6. Click on New step.
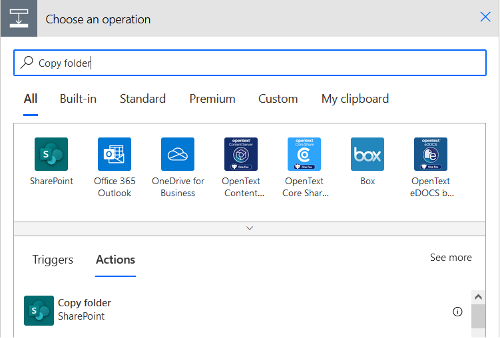
7. In the Choose an operation window, search for ‘Copy folder’ and select the resulting Copy folder / SharePoint option.
8. The Copy folder step window will appear.
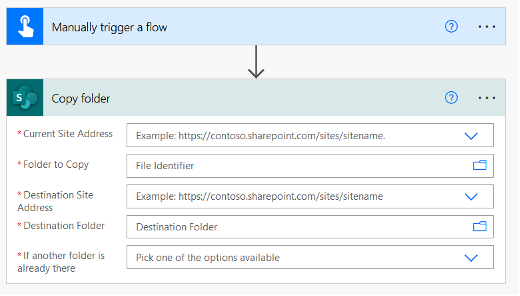
9. The required fields will need be filled in:
- Current Site Address:
Use the dropdown arrow on the right to locate and select the applicable [existing] SharePoint Site address. - Folder to Copy:
Use the Show Picker (folder icon on the right) to locate and select the applicable Shared Documents folder you are needing to copy. - Destination Site Address:
Use the dropdown arrow on the right to locate and select the applicable [existing] SharePoint Site Address. - Destination Folder:
Use the Show Picker (folder icon on the right) to locate and select the applicable Shared Documents folder you wish to copy the folder to. - If another folder is already there:
Use the dropdown arrow on the right to select the appropriate option. To err on the side of caution, you can select Fail this action.
10. Click Save
11. If you are ready to run your flow, you can select Run in the top toolbar of the Flow. From here, you will be prompted to go through the steps to submit the Flow.
12. Once the flow is submitted, you can monitor status in the 28-day run history window located towards the bottom of the Flow page. In the Status column, you will be able to see current status as well as view the details by clicking on the entry under the Start column. This will take you into the flow details so you can view and troubleshoot if applicable.

13. Upon the flow completing successfully, you can confirm the copied folder is now showing in SharePoint in the desired destination location! Provided all is confirmed to be in order, the “original” folder that was copied can be deleted!
The above outlines just one of the many useful functions that Power Automate offers. If you have additional questions about moving files in SharePoint please do not hesitate to contact us.

.png)